- How to set you first GIT repository?
(1) Go-to Git hub web-site at: Github Home Site and log-in (sign in or sign up)

(2) Click on the “New Repository”
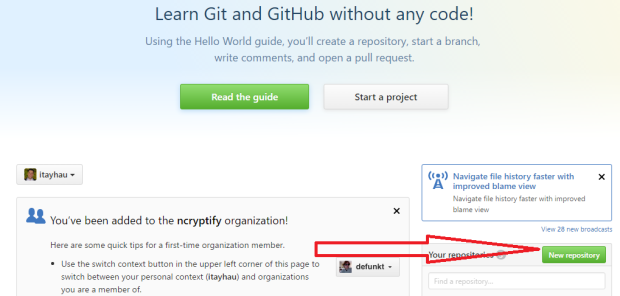
(3) Enter “Repository name” and click “Create repository”

(4) You will be redirected to your Git-hub branch web-page.
Copy the URL link to the clipboard (ctrl + c) for step 8

(5) Create a folder on your computer for the Git branch.
i.e. create a GIT folder on drive c: – mk dir C:\GIT
(6) Copy the desired files into the folder
These file will be uploaded to your web GIT branch
(7) Download GIT installer from the following URL: Download GIT
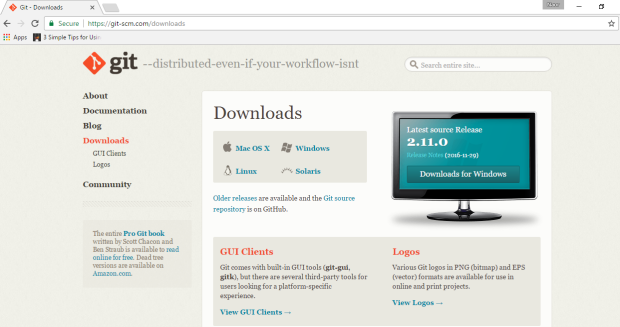
- Execute the Git installer it should insatll git and extract git-bash.exe
(8) Run the git-bash.exe from the installed location
i.e. C:\Program Files\git\git-bash.exe

After the bash command will open, Enter these command:
$ cd c:/git
$ git init
$ git add .
$ git commit -m “first commit”
-when copy paste this line make sure the quote sign is correct!!!
Then you may receive this:
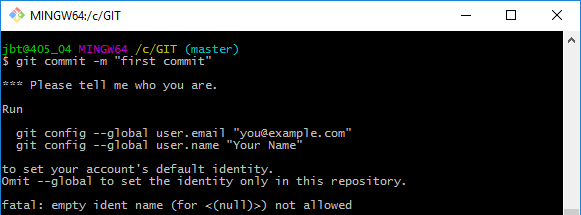
You should now enter you username and email (as you defined when you signed-up [ see step 1] ). for example:

Now continue:
$ git remote add origin URL-LINK [see step 4]
for example: $ git remote add origin https://github.com/itayhau/JavaTest.git
$ git push -u origin master
(9) Now browse to your URL-LINK [see step 4] and you should see the files (don’t forget to refresh! )
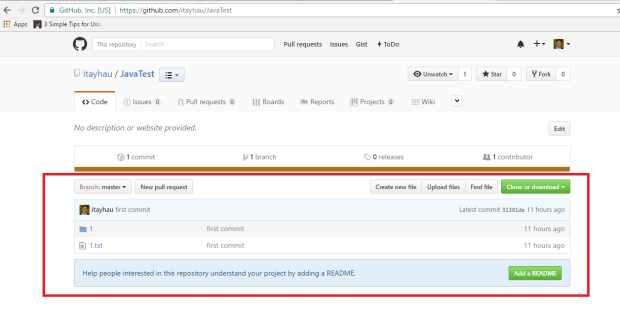
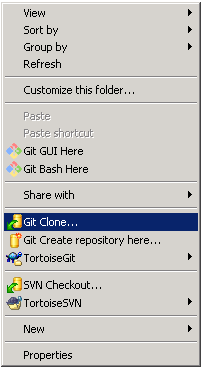
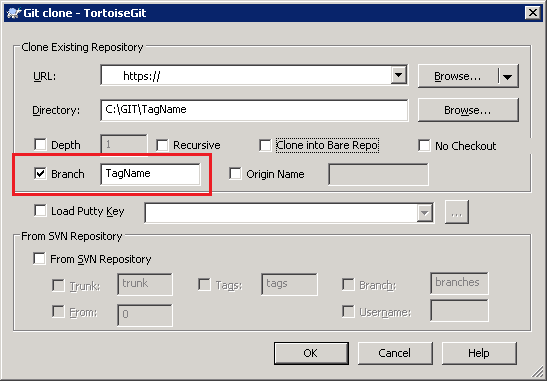
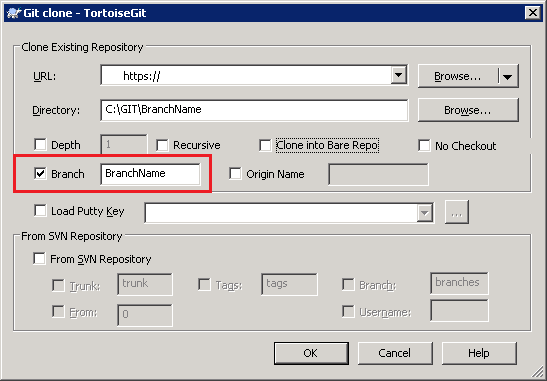
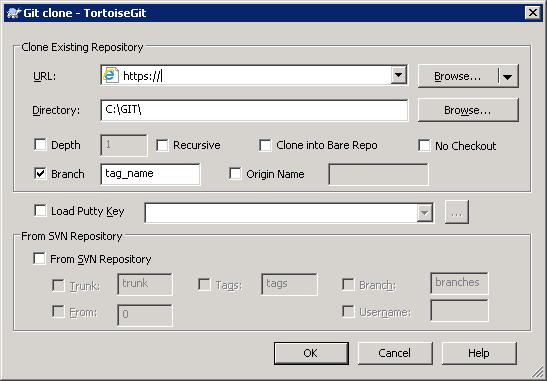
To download the repository in the future, just use
$ git clone URL-LINK [see step 4]
for example: $ git clone https://github.com/itayhau/JavaTest
🙂

